Blush can be one of the quickest ways I bring life back to a mature complexion. A small amount can make the eyes look brighter, the skin look fresher and the entire face look more awake. Yet I also find that blush is one of the easiest makeup steps to get slightly wrong. To carry that lift through the eye area, I pair this placement with my soft eyeliner routine for mature eyes and a lightly filled brow from my eyebrow-pencil guide for older women.
I can choose a beautiful color and still end up with a result that looks patchy, sits too low, catches on texture or competes with everything else on my face. I can also follow an old rule—such as smiling and placing color directly on the roundest part of the cheek—and discover that the placement no longer gives me the effect I wanted.
That is why I built this guide around technique rather than age rules. I researched how mature skin changes, compared current makeup-artist advice and worked through the order, texture, placement and blending decisions that make the biggest visual difference. I wanted a routine that looked softly lifted, but never tight, stripey or overdone.
My short answer is simple: I apply blush in thin layers, keep most of the color on the upper outer cheek and blend the edges upward toward the temple. I choose a flexible cream, balm or finely milled powder, and I match the tool to the formula rather than using one brush for everything.
Most importantly, I treat the placement in this guide as a starting point. I never believe that every woman over 50 has the same face, the same skin or the same idea of beautiful makeup. I adjust the routine until the color looks as if it belongs to the face in front of me.
Quick Answer: Where I Apply Blush on a Mature Face
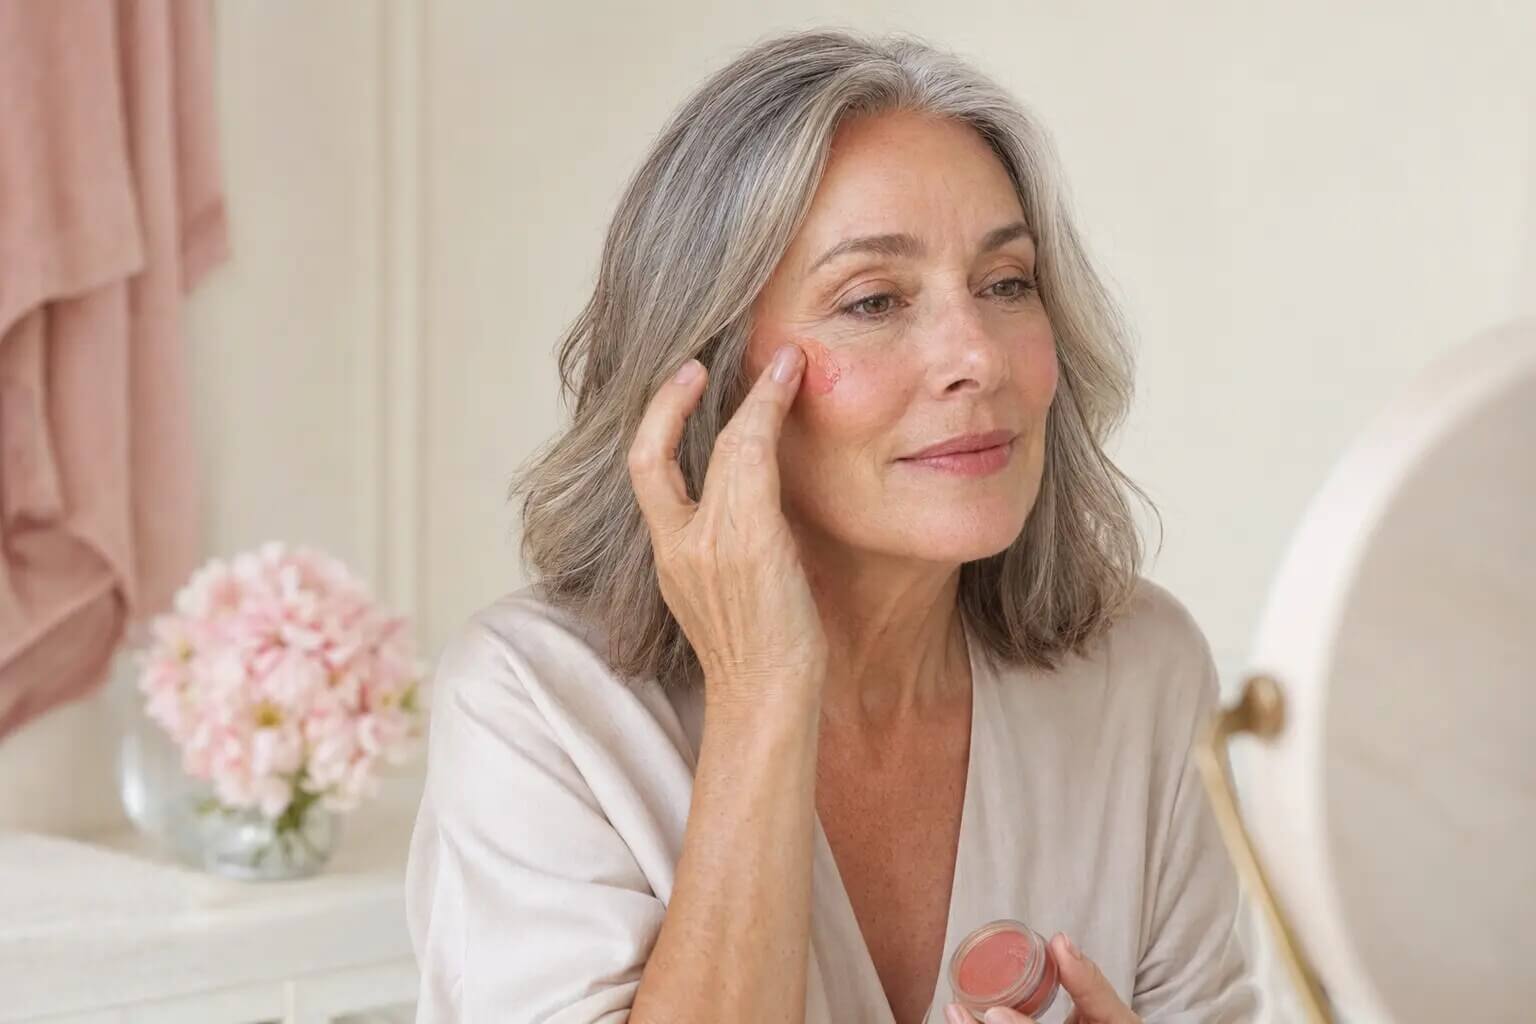
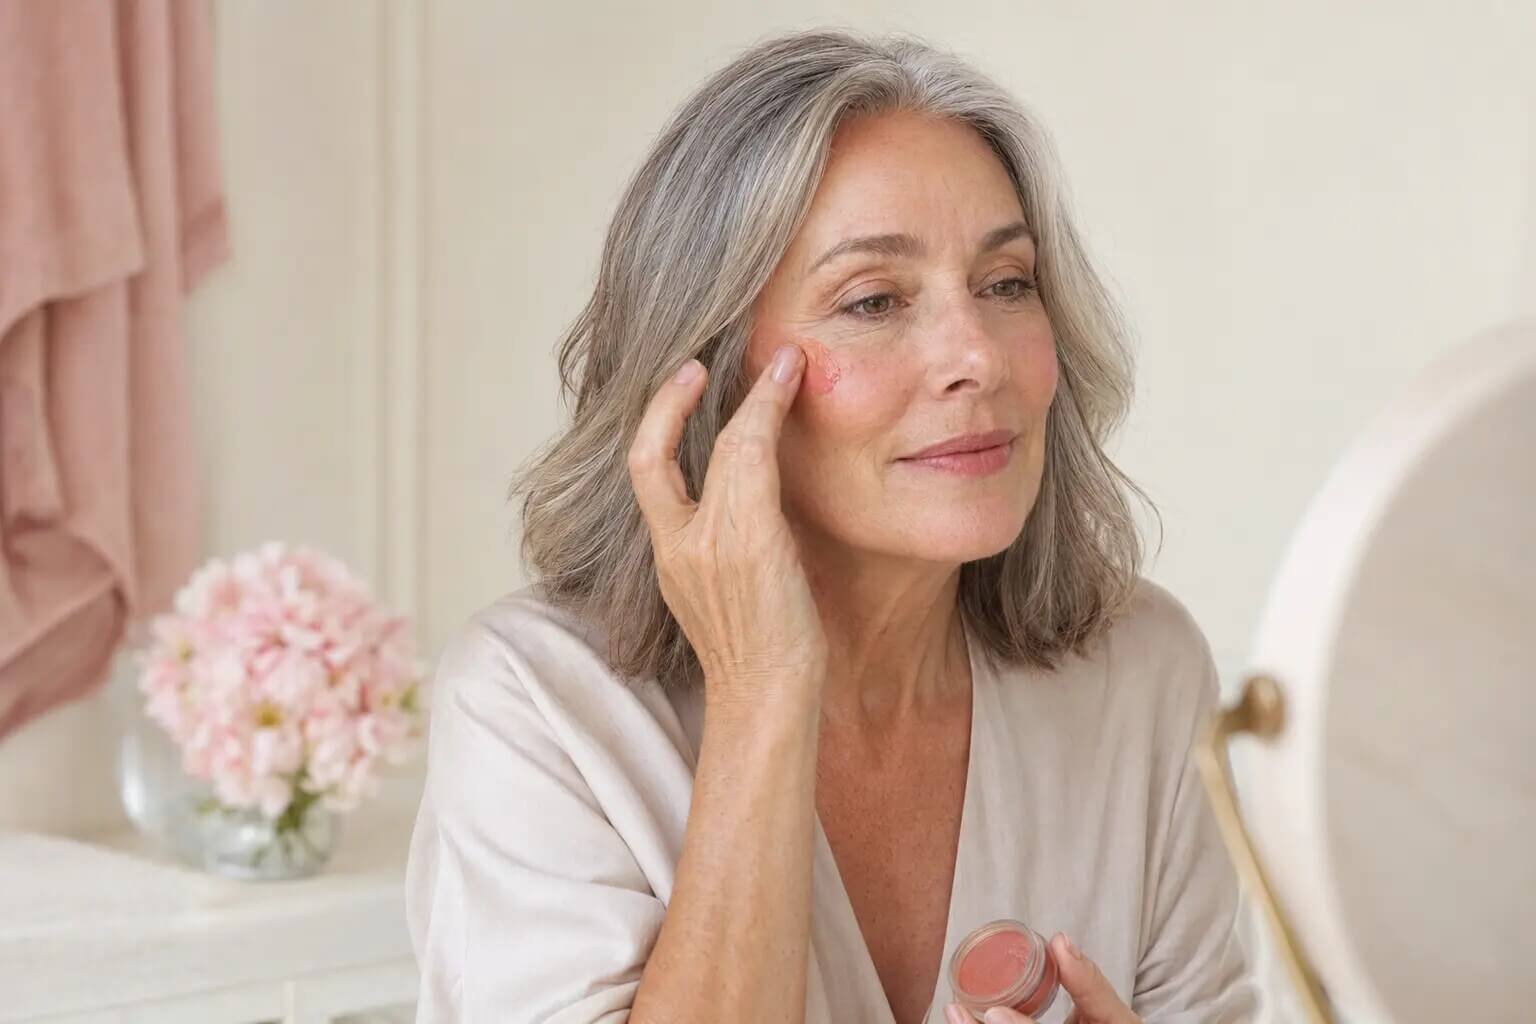
I begin with the center of the blush slightly higher than the traditional apple of the cheek. I usually start around the outer half of the cheek, below the outer iris or outer corner of the eye, and then I blend softly along the top of the cheekbone toward the temple.
I keep the strongest pigment away from the nose, the deepest under-eye lines and the hollow directly beneath the cheekbone. I soften the color as it travels inward, so I still get a healthy flush without visually pulling the face down.
- I prepare the cheek so it feels smooth and flexible, not wet or powdery.
- I remove excess product from my finger, brush or sponge before it touches the face.
- I place the first tap high on the outer cheek rather than beside the nostril.
- I build pigment gradually instead of trying to finish the cheek in one swipe.
- I check the result with a relaxed expression in daylight before adding more.
I use these five checkpoints:
I find this method works especially well when I want blush placement over 50 to look natural and softly lifted. If I want a rounder, more romantic flush, I bring a little color forward. If I want more structure, I keep the color farther back and blend it in a slightly more upward direction
Table of Contents
Why I Changed My Blush Technique After 50
I did not change my approach because mature skin suddenly became a problem to hide. I changed it because skin, facial volume and texture do not stay exactly the same throughout life, and makeup looks better when I work with those changes.
The Cleveland Clinic’s overview of aging skin explains that skin can become drier, thinner and less elastic with age. I find those changes matter to blush because a stiff, very dry formula can catch where the skin moves, while heavy shimmer can make uneven texture more noticeable in direct light.
I also find that facial volume can shift. The fullest part of a cheek may sit a little lower than it once did, and the old “smile and color the apples” rule can place the blush lower when the face returns to a relaxed expression. I do not ban blush on the apples—I simply check the placement without smiling before I decide that it is finished.
I prefer to think of blush as light, color and direction
- I use light to keep the skin looking dimensional rather than flat.
- I use color to restore a believable flush.
- I use direction to guide the eye upward and outward.
I also became more careful about the amount of base makeup beneath my blush. When I apply a thick layer of foundation and concealer, then buff firmly over it, I can disturb the base and create a patch. When I keep the base thin and press blush gently, I get a much smoother result.
That is why I connect blush application to the rest of the routine. I follow the same thin-layer principle I use in my exact makeup layering routine for mature skin: I apply liquids and creams before loose powder, I give each layer time to settle and I avoid piling products over an area that already looks good.
I stopped chasing an artificial “face-lift”
I see many blush tutorials promise an “instant face-lift.” I understand the appeal, and a higher placement can certainly create a more lifted visual direction. However, I do not present makeup as if it can physically lift skin.
The American Academy of Dermatology explains that topical products cannot truly lift sagging skin. I use the word “lifted” in this article to describe an optical makeup effect: the color rises toward the temple, so the eye follows it upward.
I think that distinction makes the routine feel more realistic. I am not trying to erase a mature face. I am using color to frame it beautifully.
Cream, Liquid or Powder: What I Choose
I do not believe mature skin has to use one blush texture forever. I choose the formula by looking at the skin, the base underneath it, the weather and the finish I want that day.
I reach for cream or balm when the cheek looks dry, when I want a forgiving everyday glow or when I am wearing a light skin tint. I choose liquid when I want very thin, long-lasting pigment and I have time to blend quickly. I choose powder when I need control, when my cheek gets oily or when the rest of my complexion has already been set.
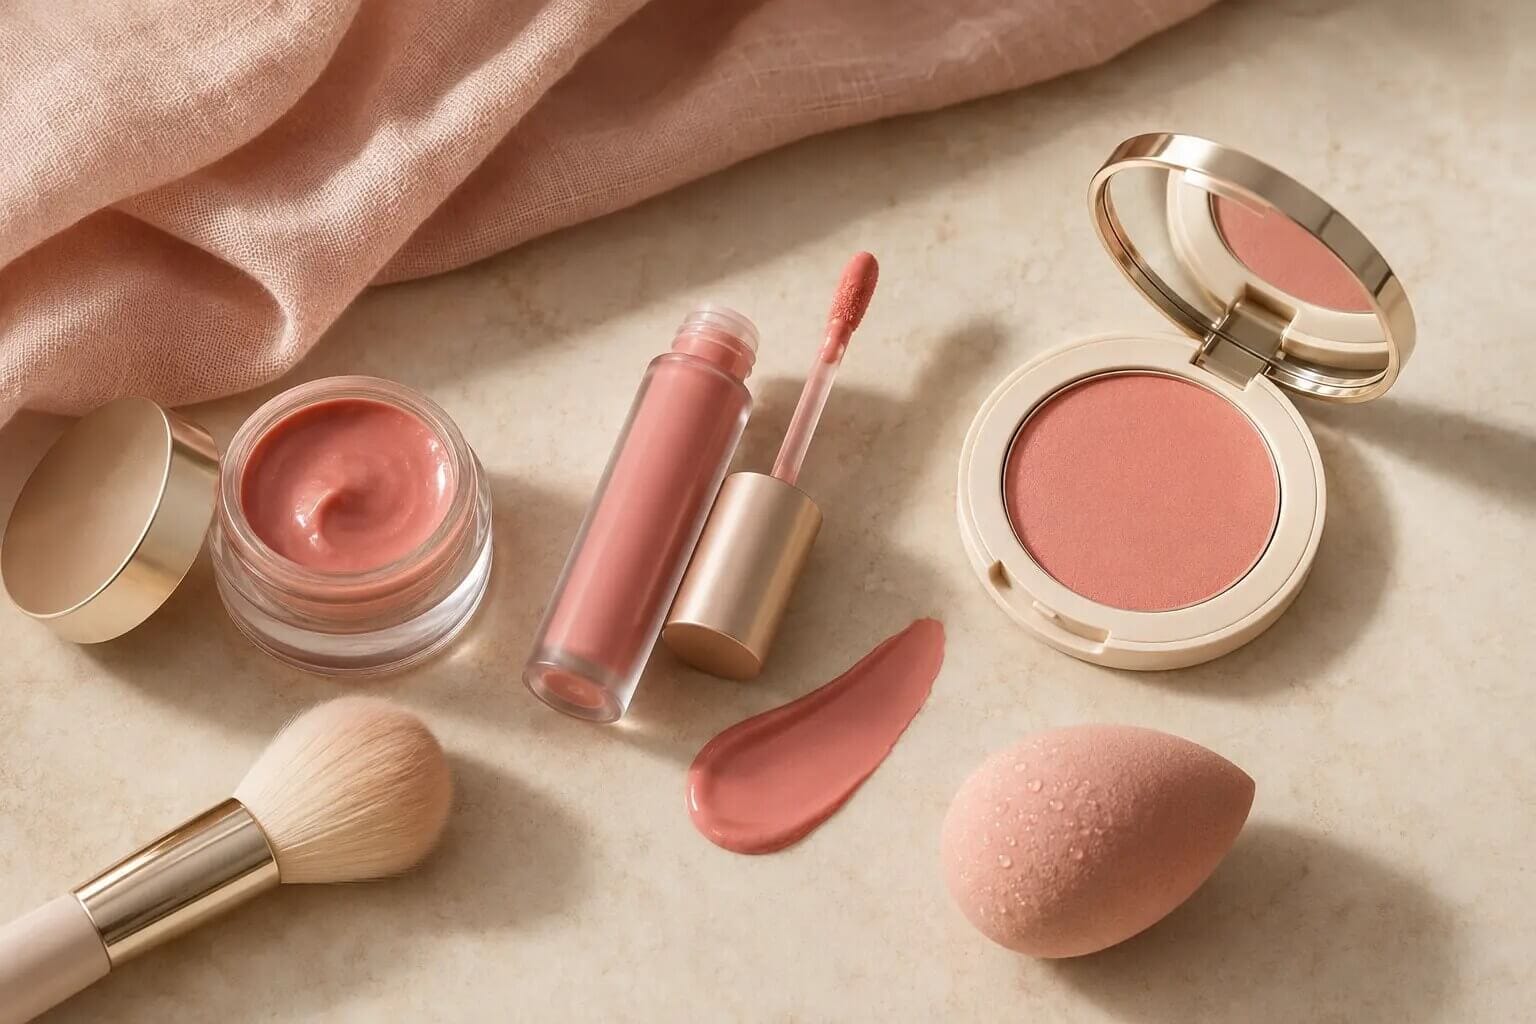

Formula | Why I choose it | What I watch for | My favorite application method |
|---|---|---|---|
Cream or balm | I get a flexible, skin-like finish that is easy to soften | Very emollient creams can move foundation or remain tacky | I warm a small amount on my hand, then tap it on with fingers, a brush or sponge |
Liquid | I get strong color from an extremely thin layer | Highly pigmented formulas can stain before I finish blending | I place one small dot at a time and blend immediately |
Powder | I get precision, oil control and easy layering over a set base | Dry or glittery powder can emphasize texture if I use too much | I use a small soft brush, tap off excess and build slowly |
Cream-to-powder | I get the glide of a cream with a less tacky finish | Some formulas set quickly and become harder to move | I stipple rather than swipe and work on one cheek at a time |
Sheer tint | I get a watercolor flush with very little visible texture | Thin stains can grab onto dry patches | I prepare the skin well and keep a clean sponge ready for the edges |
When I choose cream blush for mature skin
I choose cream blush most often when the cheek feels normal to dry. The flexible texture tends to move with the face, and a satin finish can make the complexion look fresh without relying on obvious shimmer.
I still check how creamy the product really is. Some sticks are dense and waxy, while some balms are so slippery that they lift the foundation beneath them. I test a small amount on the back of my hand first. If the product needs firm rubbing to move, I warm it with a fingertip. If it feels very oily, I apply less and press rather than drag.
I researched current artist guidance too. In Vogue’s guide to blush on mature skin, the makeup artists favor cream and liquid textures for a reflective, hydrated effect, while also acknowledging that powder can work when the skin is prepared properly. That balanced advice matches the way I approach it: I prioritize finish and technique over a rigid rule.
If I need product ideas, I send readers to my separate guide to the best blush and bronzer for mature skin. I keep this article focused on how to apply blush, while that roundup compares specific formulas and price points.
When I still choose powder blush
I do not throw away powder blush after 50. I simply become choosier about the texture and the amount.
I look for a finely milled powder with a satin, soft-matte or very subtle luminous finish. I avoid chunky sparkle when the goal is to soften visible pores or fine lines. I also avoid pressing a large, loaded brush onto the cheek, because that gives me too much pigment and too much powder in one spot.
I use powder blush after I have lightly set the cheek, or directly over a base that has dried down completely. I never grind the brush into the skin. I tap, sweep once and polish only the outer edge with a clean brush.
When powder is making the whole complexion look dry, I revisit my guide to matte versus dewy makeup on mature skin and rebalance the finish. Sometimes I need less cheek powder; sometimes I simply need glow in a more controlled place.
How I Choose a Flattering Blush Color
I choose blush color by looking at undertone, depth and intensity. I do not start with age. A woman does not stop suiting coral, berry or pink because she crossed a birthday.
I first look at the colors that already harmonize with the face. I notice whether the skin reads warm, cool, neutral or olive; whether the lips naturally lean rose, mauve, peach or brown; and whether the day’s lipstick is soft or bold.
Then I decide how much contrast I want. A very pale blush can disappear on deeper skin, while an extremely bright shade can overwhelm fair skin if I apply it with a heavy hand. I want enough contrast to look alive, but I control that contrast with thin layers.
The shade families I use as starting points
- I use soft peach, apricot and warm rose as approachable choices for many warm or golden undertones.
- I use rose, pink-beige and neutral mauve when I want a balanced everyday flush on neutral undertones.
- I use cool rose, berry and soft plum when the complexion has cool or rosy undertones.
- I use terracotta, rich berry, brick rose and deep coral when I want visible, flattering color on deeper skin tones.
- I use muted rosewood, neutral peach and brown-pink when bright blush tends to turn overly orange or overly pink on olive skin.
I treat those as helpful starting points, not a color law. Undertones are complex, product pigments shift on the skin and personal taste matters.
I use lipstick to keep the face harmonious
I do not insist that lipstick and blush match exactly. I simply keep them in the same color conversation.
If I wear a warm coral lip, I usually avoid a very blue lavender-pink cheek. If I wear a cool berry lip, I may choose rose or plum blush rather than orange-peach. If I wear a neutral lip, I let the blush become the main color.
I use my guide to the best lipsticks for mature skin that do not feather when I want to build a complete look. I find that a related lip and cheek tone can make even a five-minute routine look deliberate.
I swatch color where I can actually judge it
I do not rely only on a stripe across my wrist. The wrist can be lighter, cooler or less pigmented than the face.
I swatch on the back of my hand to understand texture, and then I test a small amount high on the cheek in natural light. I wait a few minutes before deciding. Some liquid and cream pigments deepen as they set, and foundation underneath can change the way the color reads.
I also check the blush from normal conversation distance. A magnifying mirror is useful for the edges, but it can tempt me to keep blending until all the color disappears.
My 7-Step Blush Routine for Mature Skin
I built this routine so each step solves one common problem: dryness, patchiness, low placement, too much pigment, harsh edges, competing products or poor wear.
I can complete it in a few minutes once I know the formula. When I try a new blush, I slow down and use less than I think I need.
Step 1: I prepare the cheek without making it slippery
I start with a thin, comfortable layer of skincare. I focus on flexibility rather than grease. If moisturizer is sitting on top of the skin, a cream blush may slide. If the cheek is tight or flaky, powder blush may catch.
The American Academy of Dermatology recommends daily moisturizer as skin becomes drier with age. I apply enough to relieve dryness, then I give it time to settle before makeup.
I gently press the cheek with a clean fingertip. If my finger glides through a visible film, I wait longer or lightly blot. If the skin still feels rough, I add a pinpoint of moisturizer to that area rather than layering more primer over the whole face.
I also avoid aggressive last-minute exfoliation. The AAD’s menopause skin-care guidance notes that skin can become thinner and that at-home exfoliation can sometimes do more harm than good. I would rather work with a hydrated surface than irritate the cheek immediately before makeup.
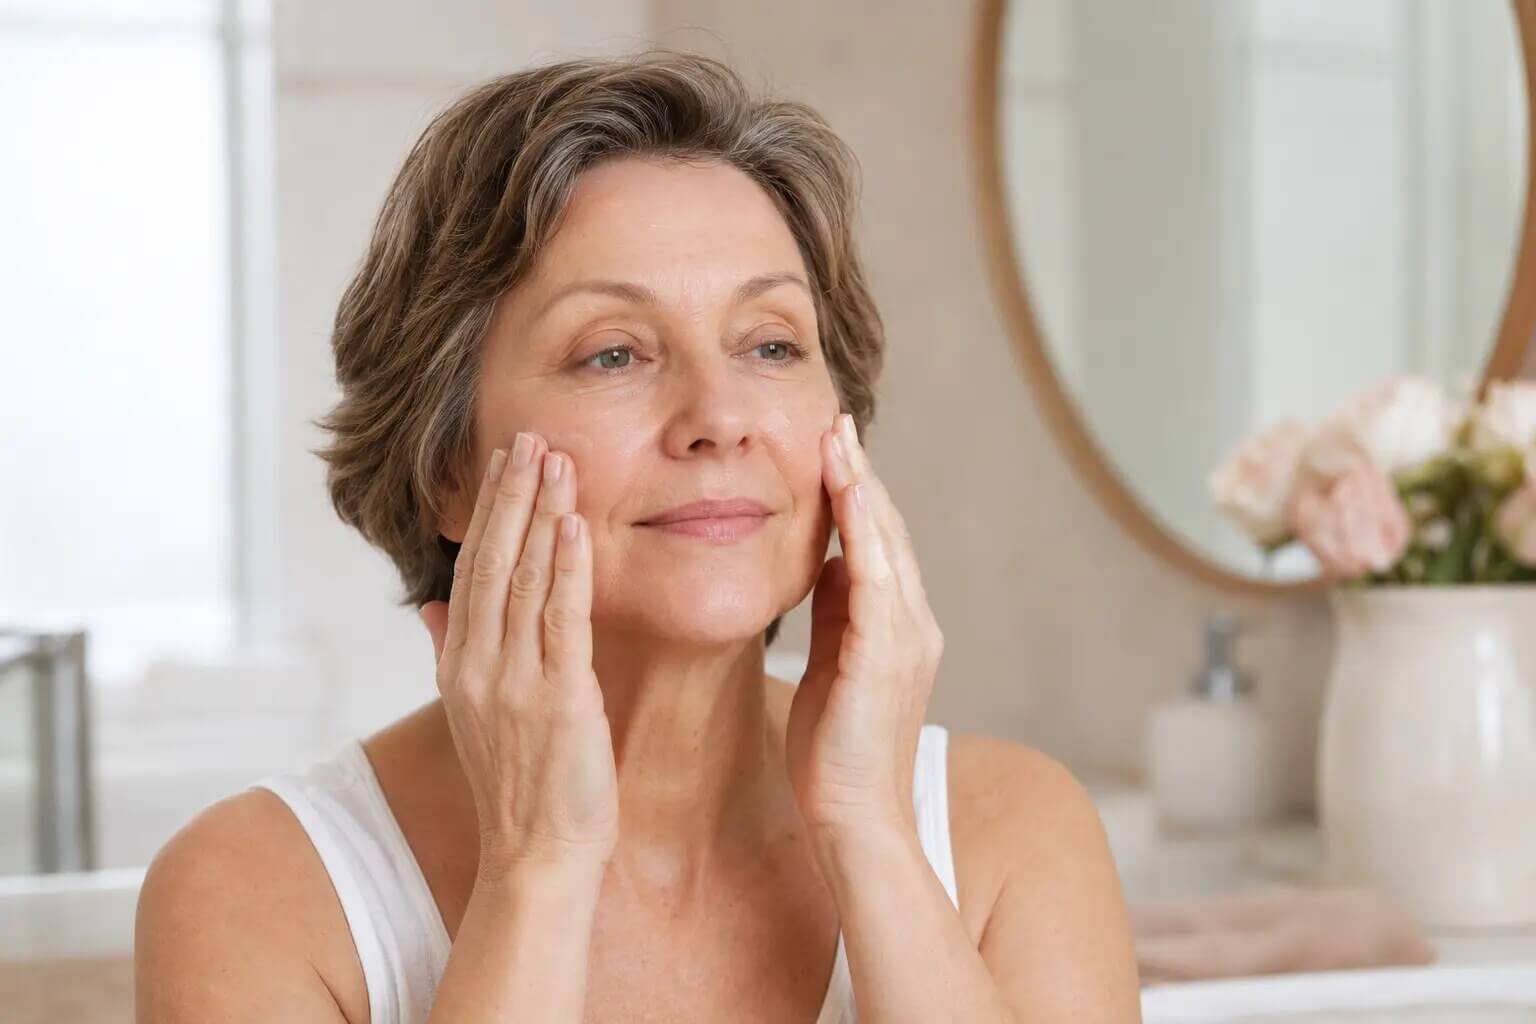

When I need the full base sequence, I follow my step-by-step guide to preparing mature skin for foundation. The same preparation that helps foundation sit smoothly also gives blush a better surface.
Step 2: I keep the base beneath my blush thin
I apply foundation only where I want evening or coverage. I do not automatically cover every bit of natural cheek color, because then I have to rebuild all that life with more blush.
I keep concealer away from the outer cheek unless I genuinely need it there. Thick, unset concealer under blush can create a pale patch or make cream color skip.
After the base, I wait briefly and look at the cheek from the side. If foundation has gathered near a smile line or dry patch, I press it out with a clean damp sponge before adding blush. I do not try to hide a textured base under more color.
If the base is already breaking apart, I use the troubleshooting steps in my guide to stopping foundation from separating on mature skin first. Blush cannot sit evenly on top of a layer that is pilling, sliding or separating.
Step 3: I load the tool away from my face
I never take a fully loaded wand, stick or brush directly to the cheek when I am unsure about the pigment.
For a cream stick, I swipe a small amount onto the back of my hand, warm it and pick it up with a fingertip or brush. For liquid blush, I place one tiny dot on my hand and distribute it across the tool. For powder, I dip lightly, tap off the excess and test the brush on the back of my hand.
That extra ten seconds gives me three advantages:
- I control the amount before it touches the face.
- I distribute pigment through the brush or sponge instead of leaving one saturated spot.
- I discover whether the formula is sheer, oily, dry or unexpectedly intense.
I keep a clean brush or clean side of the sponge nearby. I find that blending with a product-free tool gives me softer edges than continuing with the same tool that is still depositing pigment.
Step 4: I place the first color high on the outer cheek
I relax my face before I choose the starting point. I look straight into the mirror and imagine a soft diagonal path from the upper outer cheek toward the temple.
I place the first tap below the outer half of the eye, leaving a little space between blush and the lower lash line. I keep the most concentrated color on the fleshy upper cheek, not inside the crow’s-feet and not down in the hollow.

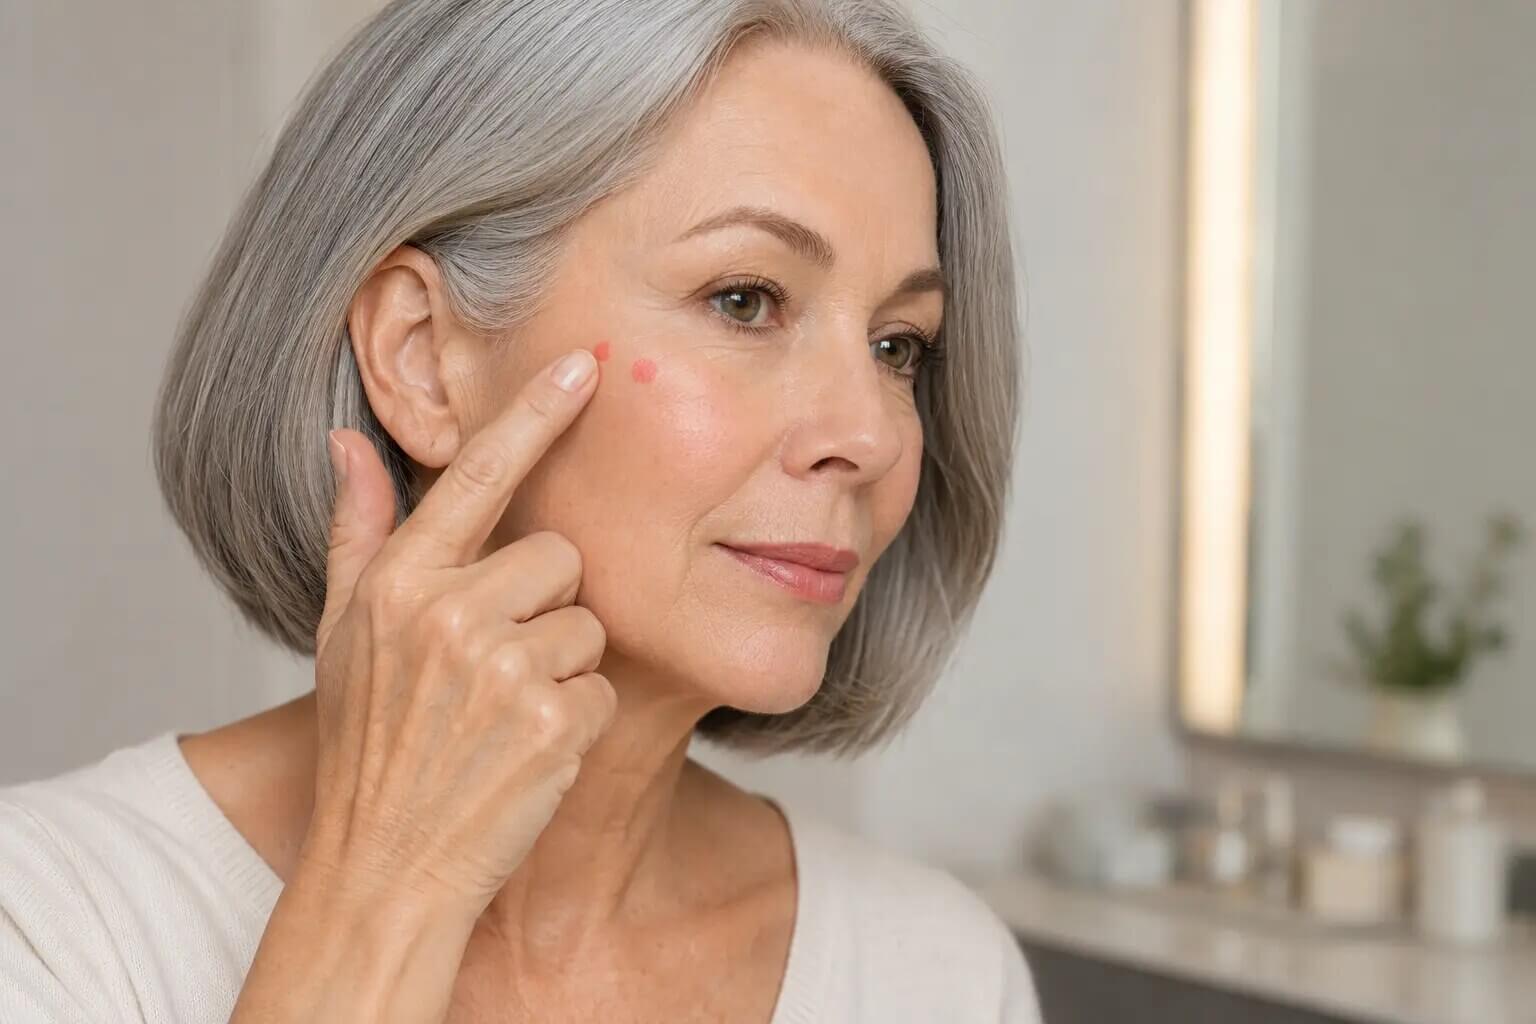
I then add a second, lighter tap slightly outward. I rarely begin beside the nose because that can make the center of the face look crowded. I can always blend a veil of color inward later.
If I want a fresh, rounded look, I allow a little blush onto the upper apple of the cheek. If I want a more sculpted look, I keep the color farther back. I make that choice intentionally instead of treating one viral placement as correct for every face.
Step 5: I blend by tapping upward, not rubbing downward
I use small tapping or stippling motions to spread cream and liquid blush. I blend the upper edge slightly toward the temple, and I soften the lower edge without pulling it down toward the jaw.
I keep my pressure light. Mature skin can move under a brush or sponge, so firm circular rubbing may shift the foundation and leave an uneven ring.

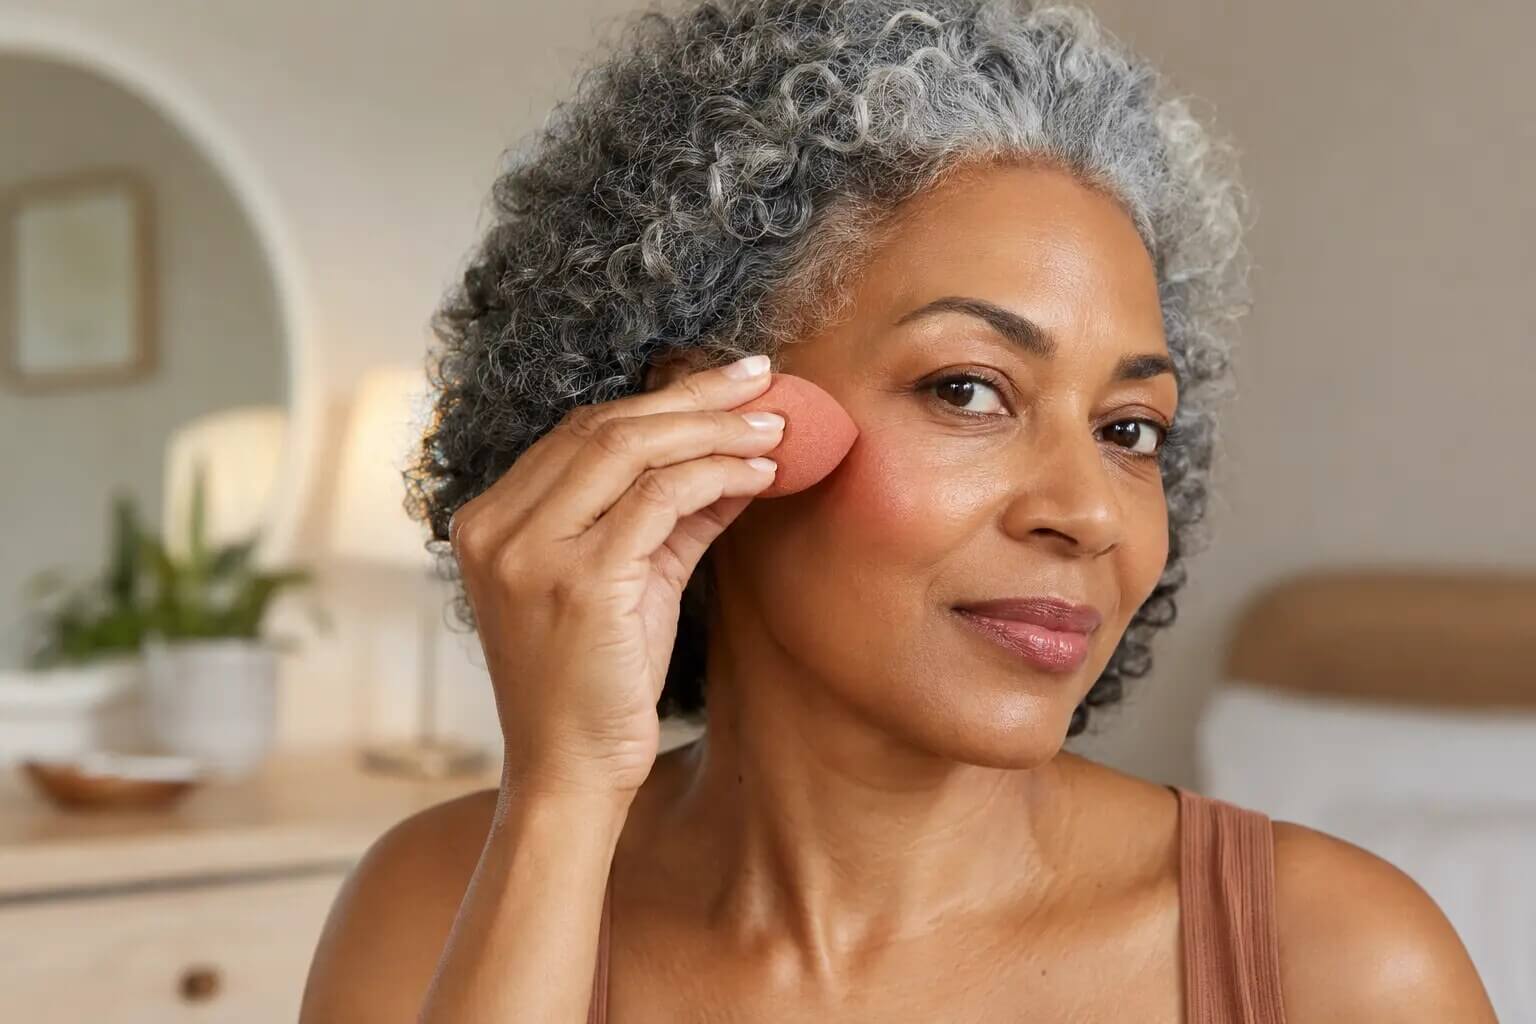
I stop every few taps and look at the whole face. I want a haze of color, not a stripe with a visible beginning and end.
I use the clean side of the sponge—or a clean duo-fiber brush—to blur the perimeter. I do not blend the center until it disappears. The middle needs enough pigment to anchor the flush.
Step 6: I balance both cheeks before I intensify either one
I apply the first sheer layer to both cheeks before adding a second layer. That keeps me from perfecting one side, making it too strong and then trying to force the other side to match.
I compare the height, width and intensity:
- I check whether one side begins closer to the nose.
- I check whether one side reaches higher into the temple.
- I check whether lighting is making one cheek appear brighter.
- I check whether my natural pigmentation or redness changes the shade.
I do not chase perfect symmetry. Faces are not identical from side to side. I aim for visual balance when I look forward.
If one cheek needs more, I add a half-layer rather than repeating the full first application. I place the extra pigment at the center of the flush and blend only the edges.
Step 7: I set only what needs setting
I decide how to finish based on the formula and the day.
If the cream blush has set and the cheek looks smooth, I may leave it alone. If it remains tacky or I need long wear, I press a whisper of matching powder blush over the center. If I want to reduce movement without adding color, I use a very small amount of translucent powder around—not heavily over—the blush.
I follow the same “only where needed” method from my guide to applying setting powder on mature skin. I do not dust the entire cheek automatically, because that can flatten the fresh finish I just created.
Finally, I mist lightly if the makeup looks powdery or needs extra wear. I keep the bottle at the recommended distance and let the mist settle without touching the face. My comparison of setting sprays that keep mature skin fresh rather than tight explains how I choose between hydration and hold.
How I Adjust Blush Placement for Face Shape
I do not use face shape to “correct” a woman’s features. I use it to decide where color feels most balanced.
I begin with the high-cheekbone method, then adjust the angle and width. I judge the result with the hair in its normal style and the face relaxed, because both can change how the placement appears.
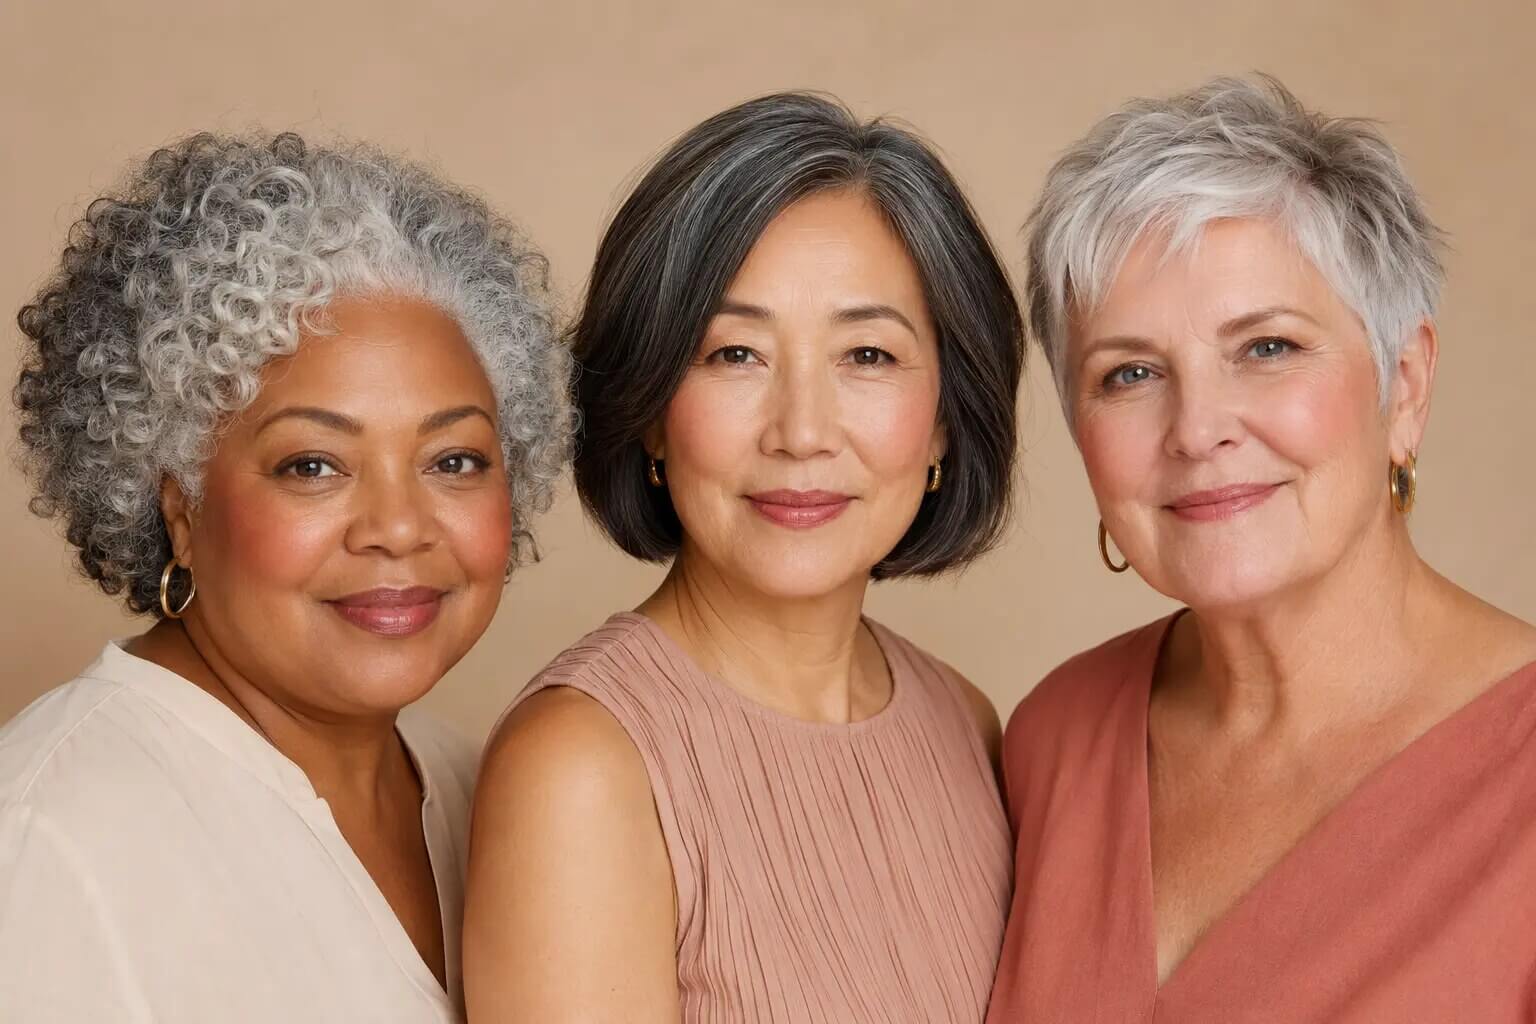
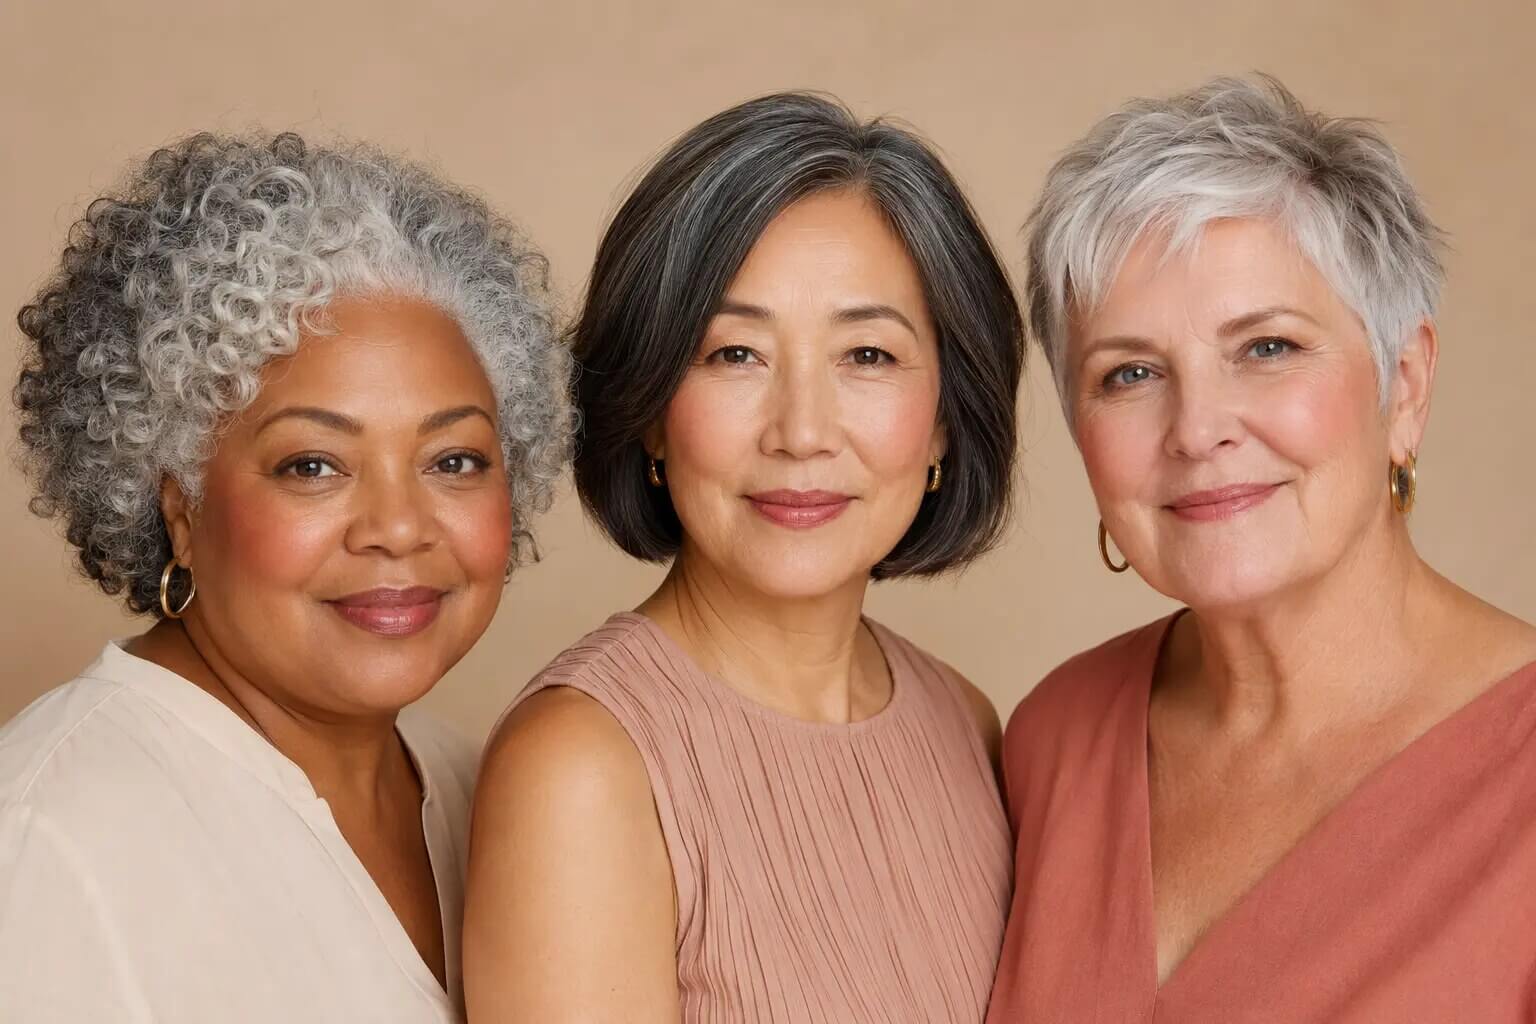
How I place blush on a round face
I usually keep the strongest color on the outer two-thirds of the cheek and blend in a soft diagonal toward the temple. I avoid making a perfectly round circle directly in the center unless I deliberately want a sweet, doll-like effect.
I leave a little breathing room beside the nose. That helps the color create direction without widening the center of the face.
I still soften a tiny amount inward so the blush looks connected to the complexion. I do not want two isolated stripes near the ears.
How I place blush on a long or oblong face
I use a slightly more horizontal blend. I place color on the upper cheek, but I do not sweep it too steeply or too far into the hairline.
I allow the blush to travel a little farther toward the apple. That gentle width can balance a longer face without dragging the color down.
I keep the lower edge diffused and avoid combining a very high blush stripe with an equally sharp contour. Too many strong diagonals can make the result look severe.
How I place blush on a square face
I soften the placement around the upper apple and blend outward with a rounded edge. I avoid a hard block of color that echoes the angles of the jaw.
I keep the color above the mouth line and use small circular taps only at the center. Then I feather the remainder toward the temple.
I often like a satin cream formula here because its diffused finish makes the placement look less graphic.
How I place blush on a heart-shaped face
I place color on the outer upper cheek and blend softly toward—but not heavily into—the temple. I keep the placement balanced so the upper face does not become too wide.
I bring a veil of color slightly inward if the cheek area feels narrow. I use less highlighter near the outer eye when the blush already provides enough light.
How I place blush on an oval face
I can use almost any of these placements, so I let the desired mood guide me. I use a higher diagonal for structure, a softly rounded upper-apple placement for freshness or a more horizontal wash for a relaxed look.
I still keep most pigment above the lower edge of the cheekbone. I find that rule gives me a dependable place to begin.
How I place blush when cheeks have lost volume
I do not put dark contour and blush deep into a hollow, because that can exaggerate the shadow. I place blush where the cheek still catches light and keep the texture thin.
I avoid a very metallic finish across crepey texture. I prefer a satin sheen that reflects softly rather than sparkling at every angle.
I also look at the face from the side. Sometimes the front view looks perfect while the blush ends abruptly before the ear. A few clean-brush taps along the edge make the finish feel complete.
The Tools I Use for a Seamless Finish
I match the tool to the product and the coverage I want. I do not assume fingers are amateur, brushes are automatically better or sponges always create a dewy finish.
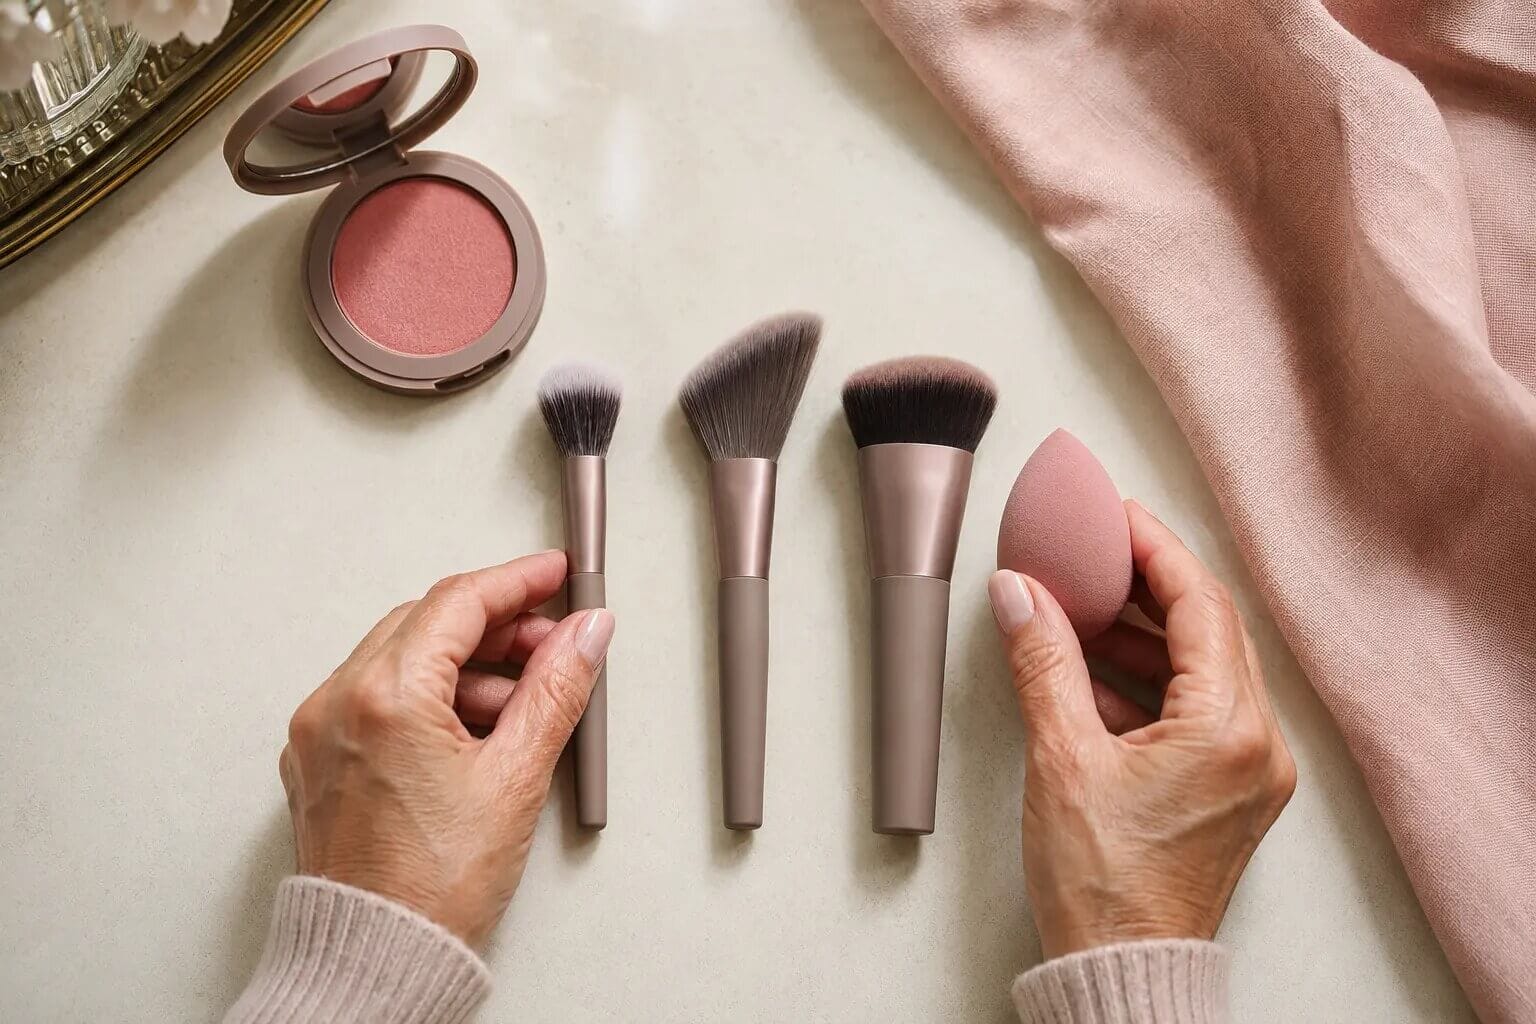

When I use my fingers
I use fingertips for balmy creams that warm and melt with body heat. I tap with the pad of the finger rather than rubbing with the tip.
I like the control and the ability to feel how much pressure I am using. I also like that I can keep pigment concentrated at the center and switch to a clean finger for the edge.
I wash my hands first, and I avoid repeatedly dipping into a pot with unclean fingers.
When I use a damp sponge
I choose a sponge when I want the most seamless edge or when foundation underneath is delicate. I use it damp, but I squeeze out all excess water. A wet sponge can dilute the makeup or disturb the base.
I pick up cream from the back of my hand and bounce it onto the cheek. I turn to a clean side to blend the perimeter.
I especially like a sponge for correcting too much color because it can lift and redistribute pigment without adding more texture.
When I use a duo-fiber brush
I use a small duo-fiber brush for highly pigmented liquid or cream blush. The spaced bristles deposit less product than a very dense brush.
I stipple the center, then use the lightest possible circular motion only around the outer edge. I keep the brush nearly parallel to the cheek so I am not pushing the bristles straight into the skin.
When I use an angled fluffy brush
I use an angled brush for powder blush when I want to follow the cheekbone. I load the shorter side lightly and let the longer bristles diffuse the color.
I avoid brushes that are so large they cover the cheek, temple and under-eye in one sweep. A medium or small blush brush gives me much more control.
When I use a dense rounded brush
I use a dense brush carefully with cream-to-powder formulas. It can create a beautifully polished finish, but it can also move foundation if I buff too firmly.
I pick up very little product, press it onto the outer cheek and then soften with a separate clean brush.
The shape and softness rules I use here are similar to the ones in my guide to the best brushes and sponges for mature skin. I care more about gentle, controlled blending than about owning a huge tool collection.
How I Layer Blush With Bronzer, Powder and Highlighter
I plan all three cheek products together. Blush, bronzer and highlighter can look beautiful in the same routine, but each one needs a job.
I use bronzer for warmth, blush for healthy color and highlighter for controlled light. I do not make all three products equally strong.
My order when I use cream products
I usually follow this sequence:
- I apply foundation and concealer.
- I apply cream bronzer lightly around the perimeter.
- I apply cream blush to the upper cheek and overlap the bronzer edge slightly.
- I add cream highlighter only if the finish needs it.
- I set strategic areas with a small amount of powder.
I overlap the edges rather than stacking all three products on exactly the same spot. That creates a gradient instead of separate brown, pink and shiny stripes.
My order when I use powder products
I let the base set, then I add a light veil of translucent powder where the cheek feels tacky. I apply powder bronzer, powder blush and finally a subtle highlighter.
I use less powder at each step than I would if I wore that product alone. The layers add up.
Where I place highlighter beside blush
I place highlighter slightly above the blush, usually on the upper cheekbone. I keep it away from the deepest crow’s-feet if shimmer makes that texture more noticeable.
I sometimes skip highlighter entirely when the cream blush already has a beautiful satin sheen. I would rather have one convincing glow than three competing reflective layers.
If I want product and placement ideas, I use my guide to highlighters that give mature skin glow without obvious sparkle.
How I handle redness and rosacea
I first decide whether the natural redness is helping or interfering. I do not cover every hint of pink automatically.
If redness is diffuse around the nose and central cheeks, I neutralize only that area with thin base makeup. Then I place controlled blush higher and farther outward. That separation helps the flush look intentional.
I avoid rubbing the cheek repeatedly, especially when the skin is reactive. I press with clean tools and stop if the skin feels hot, itchy or irritated.
My full redness and rosacea base routine after 50 shows how I keep coverage thin before adding color back in.
The Blush Mistakes I Avoid After 50
I learned that most blush problems come from amount, placement, pressure or order. I do not need to blame my face or buy a new product every time.
Mistake 1: I smile throughout the entire application
I can smile briefly to locate the apple, but I relax my face before I finish. When the cheek drops back into its normal position, I can see whether the blush sits lower than I intended.
Mistake 2: I start with the most pigmented spot near my nose
I find it much harder to remove intense color from the center of the face. I begin outward, where stronger pigment looks more natural, and blend the remainder inward.
Mistake 3: I draw a solid stripe from cheek to temple
I want direction, but I do not want a racing stripe. I use separate taps with soft gaps between them and blend those taps into one haze.
Mistake 4: I use too much pressure
I avoid scrubbing cream blush into foundation. I use pressing motions that keep the base in place and reduce pulling on the skin.
Mistake 5: I put wet cream over a heavily powdered cheek
I find cream can grip, skip or lift powder. If I know I want cream blush, I apply it before setting the cheek. If the face is already powdered, I choose a fine powder blush or use the smallest amount of cream with careful tapping.
Mistake 6: I use a large brush for a small face
I choose a brush that fits the cheek area. A very large brush can put blush under the eye, beside the nose and down toward the mouth before I have a chance to control it.
Mistake 7: I try to blend strong blush with more foundation
I do not paint a thick layer of foundation over a bright patch. That can become heavy and muddy. I first lift excess with a clean sponge, then soften the remaining edge with whatever base is already on the sponge.
Mistake 8: I add highlighter because I think mature skin must glow
I love radiance, but I choose its location. If my blush is already luminous, I often skip a separate highlighter. If texture is prominent, I keep strong shine away from that area.
Mistake 9: I judge only under warm bathroom light
I step toward a window or check a neutral light before leaving. Warm bulbs can make peach and coral blush disappear, tempting me to add too much.
Mistake 10: I keep adding color after the look is balanced
I stop, apply lipstick and then look again. Lip color often changes how strong the cheek appears. I only add more blush after I see the complete face.
How I Fix Common Blush Problems
I keep my fixes simple and local. I do not remove the entire face unless the base is genuinely failing.


When my blush is too bright
I press a clean damp sponge over the center once or twice. I do not swipe, because that can leave a bare streak.
If it still looks too strong, I pick up the smallest amount of leftover foundation from my hand and press it around the edge—not over the entire cheek. I finish by checking the other side before correcting further.
When my blush looks patchy
I stop adding product. I look for the cause: a dry patch, tacky foundation, excess pigment or a formula that set too quickly.
For cream blush, I warm a trace of product on my hand and use a clean finger or sponge to bridge the patch with tiny taps. For powder, I use a clean brush to soften the edges, then add a whisper of blush only to the bare spot.
If the patch comes from the base lifting, I repair the foundation first and accept a slightly sheerer cheek. More blush will not replace missing foundation cleanly.
When my blush looks muddy
I check whether bronzer, contour and blush have all been blended into the same area. I use a clean sponge or brush to create a little separation along the upper edge.
I also consider color. A cool mauve layered over a strong orange bronzer can turn dull on some skin tones. Next time, I choose closer undertones or reduce the overlap.
When my blush emphasizes pores
I stop buffing. Repeated circular motion can polish shimmer into texture and disturb the base.
I press a clean sponge once, then leave the area alone. For future applications, I use a satin cream, a less reflective powder or a smaller amount on the smoothest part of the upper cheek.
When my cream blush disappears
I check whether I overblended it or applied too little for the skin tone. I add a second thin layer to the center, not across the entire original area.
If fading is the problem, I press a coordinating powder blush lightly over the center. I keep the edges creamy and sheer so the result still looks skin-like.
When the two cheeks look different
I stand back from the mirror. I identify whether the issue is height, width or color intensity.
I usually correct by softening the stronger cheek rather than building the weaker cheek until both are heavy. If one side is lower, I clean the lower edge with a sponge and add a tiny amount above it.
My Three Easy Blush Looks
I use the same core method for different moods. I change the finish, intensity and companion products rather than learning a completely new placement every time.
My five-minute everyday flush
I apply a light skin tint or spot-conceal only. I warm a sheer cream blush on my hand and tap it high on the cheek with my fingers.
I blend the outer edge toward the temple and leave a little color on the upper apple. I skip bronzer if the blush brings enough life to the face.
I finish with mascara and a creamy lipstick or tinted balm in a related tone. I like this look because the skin remains visible and the blush does not have to compete with a heavy base.
My polished evening cheek
I use a longer-wearing base in thin layers. I apply cream bronzer first, then a satin cream blush slightly higher and more structured than my daytime placement.
I press a coordinating powder blush over the center for longevity. I add a refined highlighter above the blush, keeping it away from the most textured area beside the eye.
I make the lip slightly deeper, then recheck the cheek under neutral light. I want more definition, not simply more product.
My fresh summer blush
I use less foundation and choose a thin liquid or cream-to-powder blush. I place it high, blend quickly and set only the center if the weather is humid.
I avoid covering the entire cheek with glossy highlighter. I keep radiance controlled and use a setting mist for wear.
My summer makeup routine for mature skin explains how I balance glow and shine when heat makes every layer behave differently.
How I Researched This Guide
I built this article by comparing three types of information.
First, I reviewed dermatologist guidance about dryness, thinning skin, moisture and irritation. I used that information to explain why gentle preparation and flexible layers can make application easier, not to turn a makeup article into medical advice.
Second, I compared professional makeup-artist approaches to placement and formula. I found broad agreement around using thin layers, blending higher on the cheek and choosing creams or liquids when a more reflective finish is helpful. I also kept the important caveat that powder blush can still work beautifully.
Third, I checked the routine against the existing GlowOver50 content library. I made sure this guide answered a different question from the product roundup and connected naturally to the site’s articles on preparation, layering, brushes, highlighter, setting powder, setting spray, lipstick, summer makeup and redness.
I deliberately avoided inventing a multi-week product test or pretending one placement is scientifically proven to make every mature face look younger. I wanted this to read personally while staying useful and credible.
Frequently Asked Questions
Where should an older woman apply blush?
I use the upper outer cheek as my starting point. I place the first pigment below the outer half of the eye and blend toward the temple, keeping the strongest color away from the nose and lower cheek.
I then adjust for face shape and the look I want. I bring a little color onto the upper apple for a fresh, rounded effect, or I keep it farther back for more structure.
Is cream or powder blush better for mature skin?
I usually find cream or balm easier on normal-to-dry mature skin because it creates a flexible, skin-like finish. However, I still use a finely milled powder when the base has been set, the cheek becomes oily or I need extra wear.
I believe texture and technique matter more than the category on the label. A dry, stiff cream can be less flattering than a beautiful satin powder, and a glittery powder can emphasize texture more than a sheer balm.
How do I apply cream blush on mature skin?
I warm a small amount on the back of my hand, pick it up with a finger, duo-fiber brush or damp sponge and tap it onto the upper outer cheek. I build one thin layer at a time and blend the edge upward.
I avoid dragging a cream stick directly across a fully made-up cheek because the pressure can move foundation. I also apply cream before heavily powdering the cheek.
Should blush go on the apples of mature cheeks?
I do not ban the apples. I simply avoid making the lowest, roundest part of the smiling cheek my only reference.
I relax my expression and keep the center of the blush slightly higher. I can then blend a soft veil onto the upper apple if that placement flatters the face.
How high should I place blush after 50?
I place it high enough to sit on the upper cheek, but not so high that it crowds the under-eye or covers crow’s-feet with shimmer.
I usually leave a small gap beneath the outer eye and blend toward the temple. I check the side view to make sure the color follows the cheek rather than floating near the hairline.
What blush color makes mature skin look fresh?
I choose a color that has enough contrast to show and an undertone that works with the complexion. Soft peach, rose and pink-beige are easy starting points; berry, plum, terracotta and coral can be beautiful when the skin depth and undertone call for more richness.
I also coordinate blush with lipstick. I do not need an exact match, but I keep both colors warm, cool or neutral enough to look intentional together.
Can blush make wrinkles look worse?
I find blush can emphasize texture when the formula is very dry, heavily layered or full of obvious sparkle. Placement can also matter if reflective pigment sits directly inside deep lines.
I reduce that effect by preparing the cheek, using less product, choosing satin rather than metallic shine and pressing instead of scrubbing. I never assume wrinkles mean I must stop wearing blush.
How do I make blush last all day on mature skin?
I start with a stable, thin base and apply blush in light layers. For extra wear, I layer a coordinating powder over the center of a cream blush, then use a light setting mist.
I avoid adding a thick blanket of translucent powder, because that can dull the color and make the cheek look dry. I also carry the blush or a small sponge for a controlled touch-up instead of stacking more foundation over it.
Should I apply blush before or after setting powder?
I apply cream and liquid blush before setting powder whenever possible. I apply powder blush after the base has dried or after a light layer of setting powder.
If I mix textures, I keep the powder layer extremely thin. Cream over a heavily powdered cheek is more likely to grip or patch.
Can I wear blush if I have rosacea or naturally red cheeks?
I can still use blush; I simply control where the redness appears. I neutralize only the diffuse redness I want to reduce, then place blush higher and farther outward so the color looks intentional.
I use gentle pressing motions and fragrance-free skin preparation when the skin is sensitive. If the cheek is actively burning, stinging or flaring, I prioritize comfort and appropriate skin care over makeup.
How do I stop blush from looking clownish?
I load the tool away from my face, start on the outer cheek and build gradually. I check the look in daylight and at normal distance before adding another layer.
If I apply too much, I press with a clean damp sponge and soften only the edge with leftover base makeup. I correct the stronger cheek rather than making the other cheek equally heavy.
Does blush really make a mature face look lifted?
I use “lifted” to describe the direction of the makeup, not a physical change to the skin. A higher, outward blend can guide the eye upward and emphasize the cheekbone.
I focus more on balance than on chasing a dramatic illusion. The best placement is the one that makes the wearer feel fresh, confident and recognizably herself.
Final Thoughts
I think blush deserves more credit after 50. I can skip contour, highlighter and sometimes even foundation, but a well-placed touch of color still makes the face look wonderfully alive.
I get the best result when I prepare the cheek, keep the base thin, control the amount before it reaches my face and place the first pigment high on the outer cheek. I blend upward with light pressure, balance both sides and set only where I need extra wear.
I also give myself permission to change the placement. Some days I want a soft rounded flush. Some days I want a cleaner, more structured cheek. I use the seven steps as a framework, then I let my face—not a trend—make the final decision.
If you are rebuilding your makeup routine, I would start with one cream or satin blush, one small soft tool and a window with good daylight. I would practice with half the amount I normally use. That small change is often enough to make blush look smoother, fresher and far more natural.
How do you prefer to wear your blush after 50: high and softly lifted, or rounded across the upper apples? I would love to hear which formula, shade and placement work best for you in the comments.